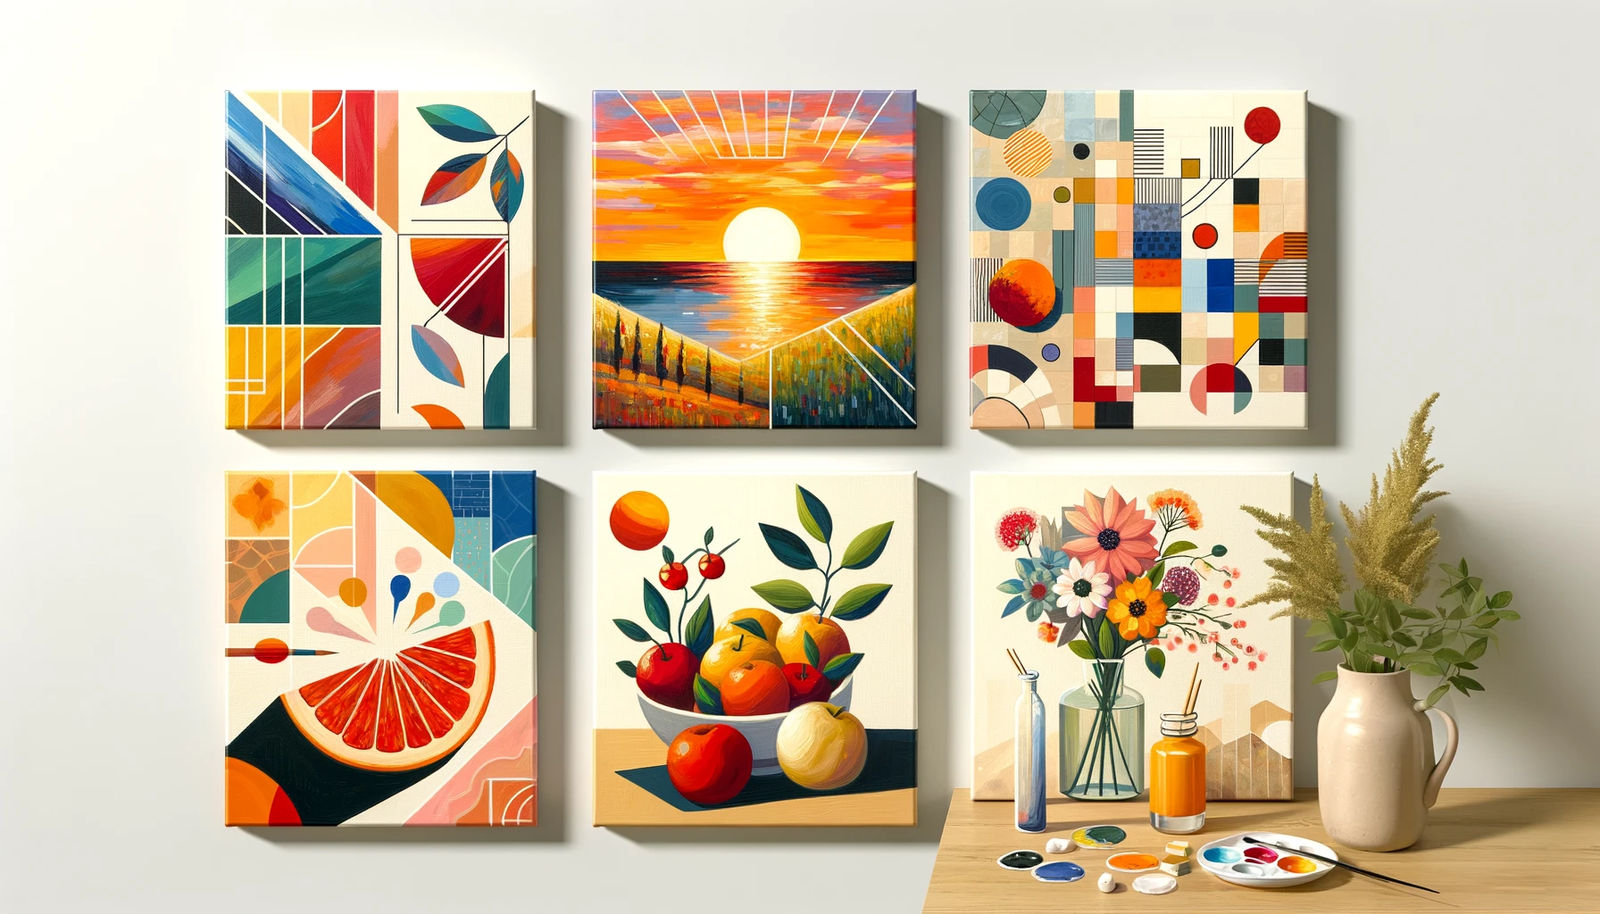
“My Best Tips to Get Started with Acrylic Paint for Beginners” is a straightforward guide that covers five essential aspects for beginners in acrylic painting: setting up your workspace, choosing the right tools, learning color mixing, managing your palette, and starting with simple projects. We focus on practical skills to create vibrant colors and offer easy projects for skill development. This guide aims to provide you with a solid foundation for your acrylic painting journey.
Table of Contents
ToggleAcrylic Painting for Beginners: How to Start Step by Step
-
- STEP 1: Start with Research.
Try to understand your materials. Acrylic paints come in various forms – from heavy-body paints ideal for thick applications to fluid acrylics suitable for watercolor-like techniques. To start with, you won’t have to buy everything at once. You just pick one type that you think you are willing to try, and that’s a good beginning.
- STEP 1: Start with Research.
-
- STEP 2: Buy the tools
Buy the art supply necessary for your start. You’ll find the exact list below. - STEP 3: Set Up Your Workspace
Ensure you have a comfortable space with adequate lighting. Since acrylics are water-based, you won’t need solvents for cleaning. This makes acrylics ideal for smaller or indoor workspaces, even if that means your bedroom or kitchen table.
- STEP 2: Buy the tools
-
- STEP 4: Start Practicing Basic Techniques
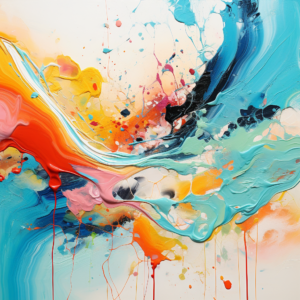
Begin with simple techniques like dry brushing for texture or adding water for washes. Experiment with layering – a technique where you build color and texture in layers, allowing each to dry before applying the next. I will explain the techniques below.
- STEP 4: Start Practicing Basic Techniques
- STEP 5: Study Color Wheel and Mixing
Invest time to get familiar with mixing colors. Find a color wheel on paper or online, and learn to use it – it is a really handy little tool. Experiment a lot. Create the color combinations you like and hate. It all teaches you something. Remember, acrylics tend to dry slightly darker than their wet state. Practice blending on your palette to achieve the desired hues.
- STEP 6: Practice Brushwork
Play with different brushes. Round brushes are great for detailed work, while flat brushes can cover larger areas or create bold strokes. Don’t forget to clean your brushes promptly with water and soap to maintain their condition. - Step 7: Explore Various Mediums and Textures
Acrylic mediums can alter the texture, sheen, and transparency of your paint. Gels can add thickness, while glazing liquids extend drying time, making blending easier.
ONCE YOU HAVE DONE THAT:
– Practice Regularly: The best way to improve is consistent practice. Set aside time to experiment and play with your paints. Use all kind of tools and lines and combinations that you can think of. Masking tape, stencils, different lines and scrapings, fast and slow movements. . . It’s all up to your imagination!
– Always Seek New Inspiration and Learning Resources: Watch tutorials, attend workshops, and observe how other artists use acrylics. Continuous learning is key to growth in art.
– Try to Stay Patient and Enjoy the Process: Every mistake is a learning opportunity. Enjoy the process of creating, and don’t be too critical of your early works.
The world of acrylic painting is vast and forgiving. Embrace your creativity, experiment boldly, and most importantly, have fun with it.
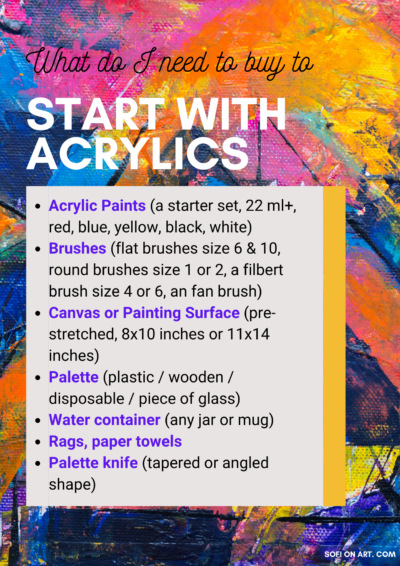
What Do I Need To Buy To Start With Acrylic Paint?
To start with acrylic painting for beginners, here’s a list of tools that you’ll need:
- ACRYLIC PAINTS
Opt for a starter set of acrylic paints in tubes, ideally around 22ml or larger. Look for a set that includes at least the primary colors (red, blue, yellow), black, and white. A set with additional colors like green, orange, and violet can be helpful but is not essential as you can mix these. - BRUSHES
A variety of brushes will serve different purposes. For starters:- A couple of flat brushes (Sizes 6 and 10) for broad strokes and filling large areas.
- Round brushes (Sizes 1 or 2) for detailed work.
- A filbert brush (Size 4 or 6) which is versatile for blending and soft-edged strokes.
- An optional fan brush for textures and smooth blending.
- CANVAS or PAINTING SURFACE
Pre-stretched canvases or canvas boards are great. Starting with smaller sizes like 8×10 inches or 11×14 inches can be less intimidating for beginners. - PALETTE
A plastic or wooden palette for mixing colors. Alternatively, a disposable palette pad or even a piece of glass can be effective. - WATER CONTAINER
Any jar or old mug will do. - RAGS or PAPER TOWELS
For cleaning brushes and managing spills. - PALETTE KNIFE
A metal palette knife, preferably with a tapered or angled shape, is useful for mixing paint and can also be used for applying paint. - GESSO (Optional)
If your canvas isn’t pre-primed, use white acrylic gesso to prepare it. A 500ml bottle is a good size to start with. - VARNISH (Optional)
An acrylic varnish (gloss or matte depending on preference) in a small bottle can be used to protect finished paintings. - EASEL (Optional) A small tabletop easel can be sufficient for starters, especially if you are working on smaller canvases.
- MIST BOTTLE (Optional)
A simple spray bottle to mist your paint with water to keep it wet.
Remember, you don’t have to get everything at once. Start with the basics, and as you grow more comfortable with the medium, you can expand your collection of tools and materials.
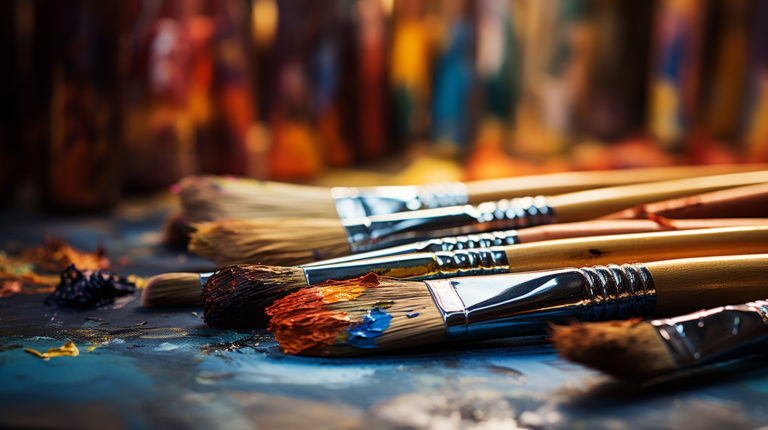
Acrylic Painting Techniques
To actually start painting, it would be good to know some most common acrylic painting techniques. Here, let’s explore some practical tips and methods for beginners to help you paint and mix colors like a pro.
- Basic Mixing: Start by combining primary colors to create a broad range of hues. Acrylics mix easily and dry to a slightly darker shade than when wet.
- Layering: Since acrylics dry quickly, you can layer colors on top of each other. This technique is useful for creating depth and richness in your painting.
- Wet-on-Dry: Apply wet paint onto a dry layer for sharp contrasts and defined shapes. This technique is great for crisp edges and distinct color boundaries.
- Glazing: Dilute acrylic paint with a glazing medium to create thin, transparent layers. Glazing can adjust the tone and color of the underlying paint without obscuring it.
- Impasto: Mix acrylics with a gel medium to create a thick, textured paint. This technique is ideal for bold, expressive brushwork and palette knife techniques.
- Color Gradation: Create a gradient by blending two colors on the palette, then applying them to the canvas while they are still wet for a smooth transition.
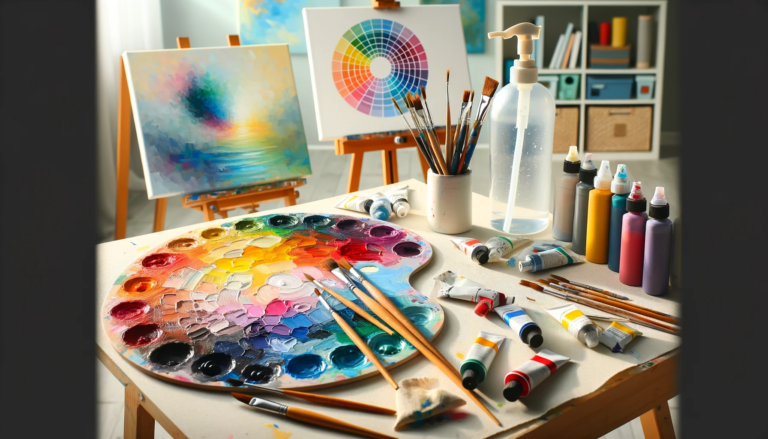
Color Mixing and Palette Management: Creating Your Perfect Hues
As a beginner in acrylic painting, understanding the nuances of color mixing and palette management is crucial. These skills are the backbone of creating visually appealing art. Acrylic paints, with their wide range of colors and ease of mixing, provide a perfect medium for experimentation and learning.
- Understanding Color Theory
Before diving into mixing, it’s important to grasp basic color theory. The color wheel, comprising primary (red, blue, yellow), secondary (green, orange, purple), and tertiary colors, is your guide. Understanding how colors interact and contrast with each other will help you create harmony and balance in your artwork.
- Mixing Colors
Start with a limited palette to avoid confusion. Using a few basic colors, you can create a wide range of shades and tones. Mix primary colors to make secondary colors, and add white or black to lighten or darken shades. Remember, it’s easier to darken a color than to lighten it, so add darker colors sparingly.
- Palette Management
Keeping your palette organized is key. Use a flat surface like a plastic tray or a disposable paper palette for easy cleanup. Arrange your colors around the edge, leaving the center for mixing. This setup helps in blending colors efficiently and keeping your workspace tidy.
- Experimenting with Hues
Don’t be afraid to experiment. Try different color combinations to see how they interact. Keep notes or a color diary to track successful mixes and interesting discoveries. This practice will improve your understanding of colors and how they behave when combined.
- Consistency and Texture
Acrylics are versatile in terms of consistency and texture. By adding water, you can thin them down for a wash effect, or use them straight from the tube for a thick, textured appearance. Experimenting with these variations opens up new possibilities in your artwork.
A few practical tips:
- Always mix enough color for your project to avoid running out mid-painting.
- Clean your brushes thoroughly between colors to maintain purity.
- Use a mist bottle to keep your paints moist on the palette.
With practice, these skills will become second nature, allowing you more freedom and creativity in your acrylic painting endeavors.
Practical Projects for Beginners: Simple and Rewarding Acrylic Painting Ideas
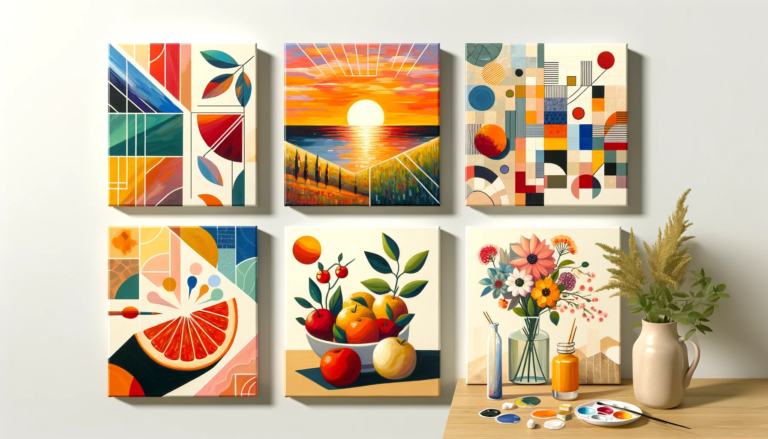
Embarking on your acrylic painting journey is an exciting endeavor, and having a few beginner-friendly projects can significantly boost your confidence and skill. Here are some easy yet fulfilling project ideas that are perfect for those new to acrylic painting:
Abstract Art
Abstract art is a fantastic starting point for beginners. It doesn’t require detailed drawing skills and allows you to freely experiment with colors and brushstrokes. Start with basic geometric shapes or freeform designs, and play with color blending and layering.
Landscape Painting
Landscape paintings are a timeless favorite. Choose a simple landscape, like a sunset or a serene lake, and focus on capturing the basic shapes and colors. This project helps you practice blending and creating depth in your artwork.
Still Life Composition
Create a still life setup with objects from around your home, like fruits or a vase. This project teaches you how to observe and replicate shapes, shadows, and highlights, honing your observational skills.
Floral Designs
Flowers are a great subject for beginners due to their forgiving and varied forms. Start with basic flower shapes and experiment with different colors and brush techniques to add texture and detail.
Mixed Media Exploration
Combining acrylics with other materials like collage or pen and ink can yield interesting results. This approach encourages creativity and is a fun way to explore the versatility of acrylic paints.
Tips for Success
- Start with small canvases to keep projects manageable and less intimidating.
- Use reference photos as a guide, especially when painting landscapes or still lifes.
- Don’t be afraid to make mistakes. Every project is a learning opportunity.
By trying these projects, you’ll gain experience in various aspects of acrylic painting, from color mixing to composition.
I hope this post “Starting with Acrylics: Essential Tips for the Aspiring Painter” has equipped you with fundamental skills in color mixing, palette management, and beginner-friendly projects.
(If you want to know more about acrylics, be sure to check out my comprehensive blog post about acrylics vs. oil paint.)
Remember, practice is key in acrylic painting. Experiment with different styles and techniques to find your artistic voice. Each project is a step forward in your creative journey. We hope this guide motivates you to explore the rewarding world of acrylic painting.
